RULE 01
Budget
Total BOM under ₹50 per badge, including the PCB and battery.

the space carnival
every attendee solders one,
yours could be the one they wear.
Loading the badge…
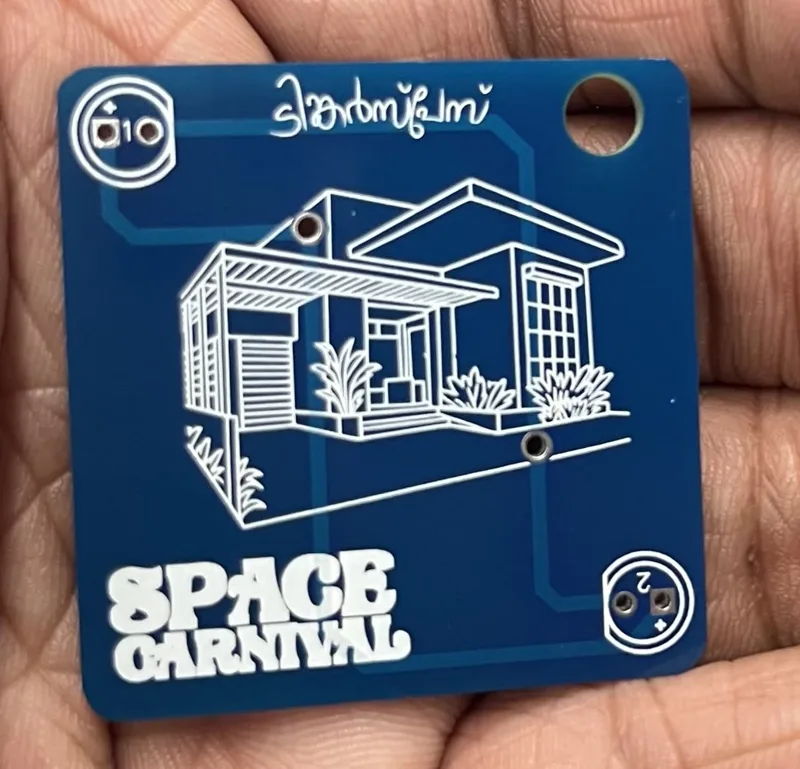
Under ₹50. Inside 40 × 40 mm.
Soldered by a first-timer in 15 minutes.
Design the official PCB badge for the next TinkerSpace Carnival: the circuit, the board shape and the artwork. The winning design gets fabricated and handed to every attendee as a keepsake they solder themselves.
It must cost under ₹50 to build, PCB and battery included, and it should say something about our local maker culture.
Who can join: anyone. Students, makers, first-timers. No PCB experience needed.
What you send: a public GitHub repo with your schematic, Gerbers, a BOM with prices and a render or photo, submitted as a link on the TinkerHub app.
Total BOM under ₹50 per badge, including the PCB and battery.
Must fit within 40 × 40 mm. Any shape inside that.
A 3 V coin cell, or USB.
Must give attendees a real soldering experience. Through-hole parts recommended.
Represents local maker culture: Kerala, Kochi, our communities, language and stories.
Designed for Lion Circuits. Check their capabilities before you finalise.
Show your costing in the BOM: one row per part, with quantity, unit price at 300 units and a source link. Count the PCB at its quoted price for your board size.
for many attendees, it's the first time holding a soldering iron.
We want them to walk away having built something that works and that they are proud to wear. Every attendee assembles their own badge at the Carnival, so it has to be solderable by a beginner in about 15–20 minutes.
The badge is a small piece of art that says where it came from. Opening the design up lets more people learn PCB design, and the winner sees their board made in the hundreds. At hundreds of units every rupee matters, hence ₹50.
A badge doesn't have to only blink. A USB-powered badge saves the battery cost and can be something people keep using after the Carnival. Microcontrollers with built-in USB (like the CH552) keep the cost low.
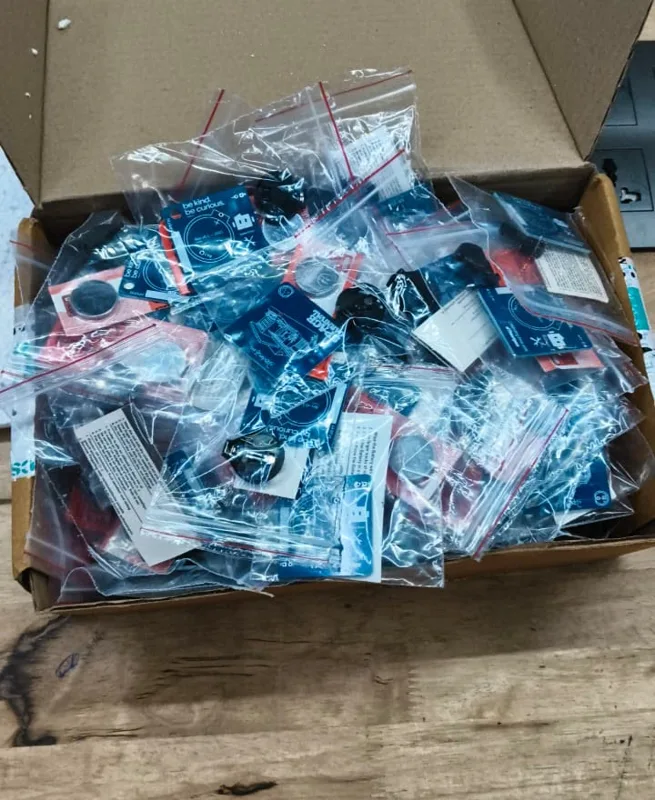
300 badges for three years of TinkerSpace, kitted by the community.
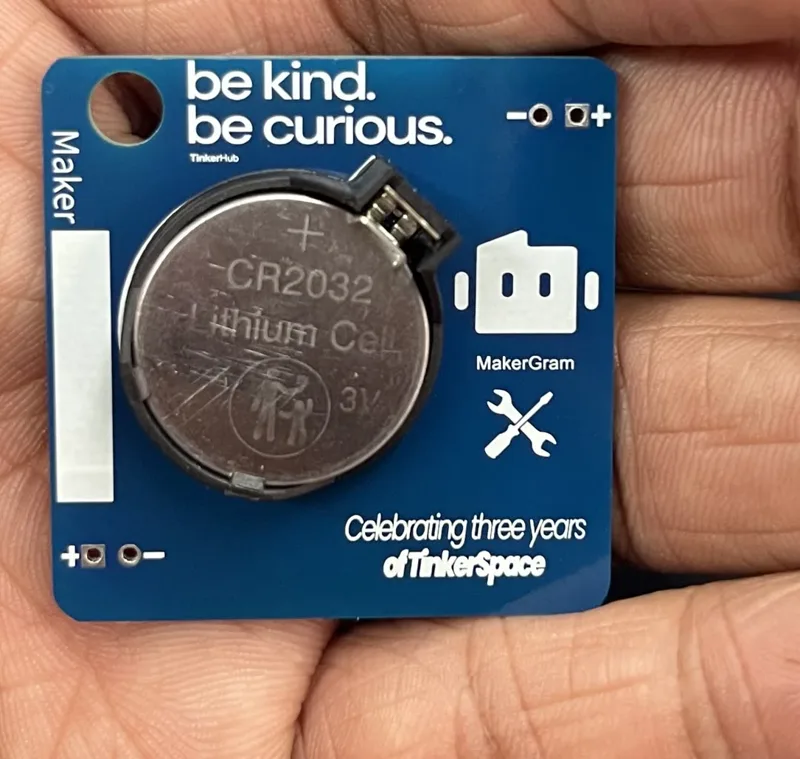
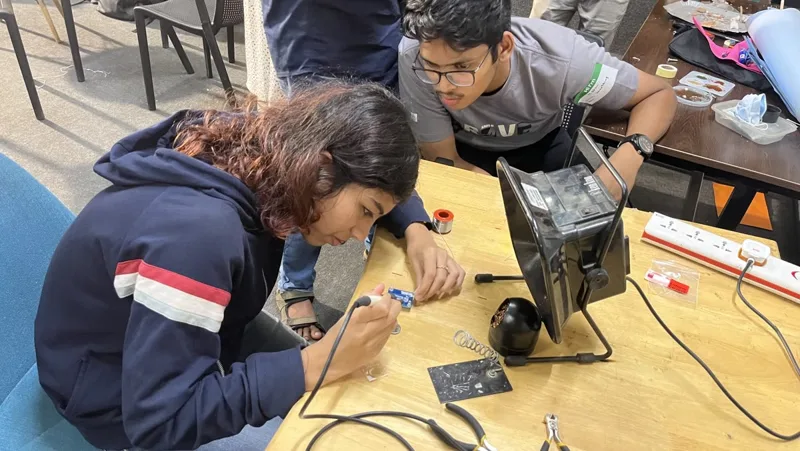
It was deliberately minimal: drop in a coin cell and it lights up. This year we want to go further, with more soldering, more ideas, and a design that comes from the community.
The whole design is open source. Open the EasyEDA files to see how a real badge is put together.
any component is allowed. ₹50 is the whole wallet.
Rough bulk prices to help you plan. Tap + to drop parts on your badge and watch the budget. Prices change with quantity and supplier, so quote real ones in your BOM.
start with EasyEDA. it's free, runs in the browser, and last year's badge was made with it.
Runs in the browser, has a big parts library linked to LCSC, and exports Gerbers in one click.
Full-featured desktop tool used by professionals. Steeper learning curve; no account or cloud needed.
Autodesk's tool combines PCB and 3D/mechanical design. Useful for unusual board shapes.
An open online call for questions about the competition, PCB design or your idea. A few of us from the team will be there. Bring half-done designs: we'll look at them together.
call date & joining link coming soon
Submissions close Nov 21 · submit on TinkerHub ↗
pass the hard rules first, then spin for points.
An original idea, something we haven't seen on a badge before.
Useful or fun beyond the event: does it do something people keep using?
Board shape, artwork and a clean, tidy layout.
How well it represents local maker culture.
Doable and satisfying for a first-timer in about 15–20 minutes.
Yes, as long as the total badge stays under ₹50. If it needs programming, tell us how it gets flashed for hundreds of units.
Yes. LEDs, 555 timers and transistor circuits are all welcome.
Either. A 3 V coin cell, a 90 mAh Li-Po or USB power are all fine; just include the cost in your BOM. A USB badge skips the battery cost and can do something useful when plugged into a computer.
Yes. ₹50 is the total for everything on the badge, including the PCB and the battery.
Yes, but attendees must still get to solder something. Through-hole parts are easier for beginners.
Yes. Start with EasyEDA (see Never made a PCB?) and come to the Ask Anything call.
Team size is still being decided. We'll update this page soon.
your-badge/
├─ README.md     idea, theme, how it works
├─ schematic/    PDF + source files
├─ gerber/       Gerber zip for Lion Circuits
├─ bom.csv       qty, unit price @300, source link
└─ images/       render or photo
submissions closeNov 21
Submit on TinkerHub ↗Need an example? Last year's badge repo is laid out the same way.
The winning design is made for every attendee, with your name on it.
want to sponsor the badge?
Help put a badge in every attendee's hands. Talk to us at tinkerspace@tinkerhub.org